You can use the Gmail interface to send and receive emails using an email account you create with your domain. By setting up your domain's email address as a POP3 and SMTP account in your Gmail account, you can use Gmail as an email client (much like you would use Outlook, Windows Mail, Thunderbird or any other mail client). This article explains how. Note that Gmail interface is updated from time to time and therefore the instructions below may not be exact.
NOTE: When you are a Vantechs Hosting customer, your emails are securely stored on our servers, eliminating the need to set up another email client. However, if you would like a higher-grade business or corporate email, we recommend Microsoft Office 365 or Google Apps to host your email. Please contact us for licensing and setup of either of these platforms.
Before You Begin
-
NOTE: You will need your POP and SMTP settings to complete this tutorial. You can find your email settings in cPanel.
-
NOTE: If you previously created an email forwarder to your Gmail account, you will need to remove it. You can't receive emails if there's a forwarder in place.
-
NOTE: We recommend using the secure (SSL) settings. Using SSL email settings is more secure as it encrypts the data while in transit.
Set up Gmail to Send/Receive Email for Your Domain
-
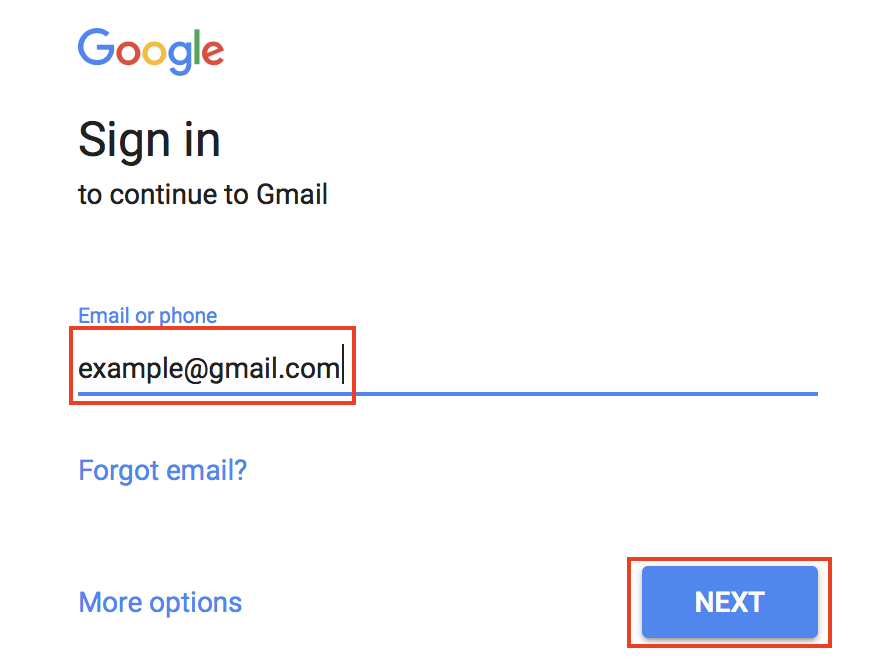
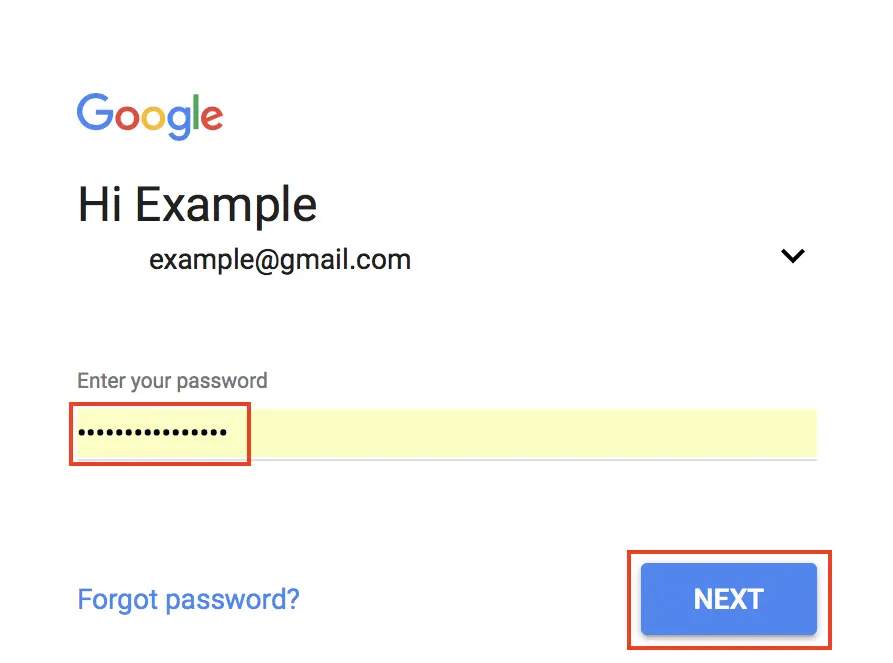
Log into your Gmail account.
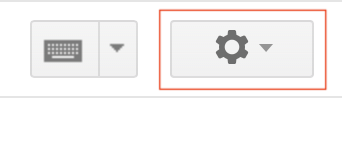
Click on the Cog drop-down menu (in the upper-right) and select Settings.
-
Click the Accounts tab

-
Next to Check mail from other accounts:, click Add a mail account.

-
NOTE: A pop-up window will appear to continue the setup process in. You will need to allow pop-ups in your browser settings, if you do not see the pop-up window appear.

Enter the email address you created for your domain and click Next.
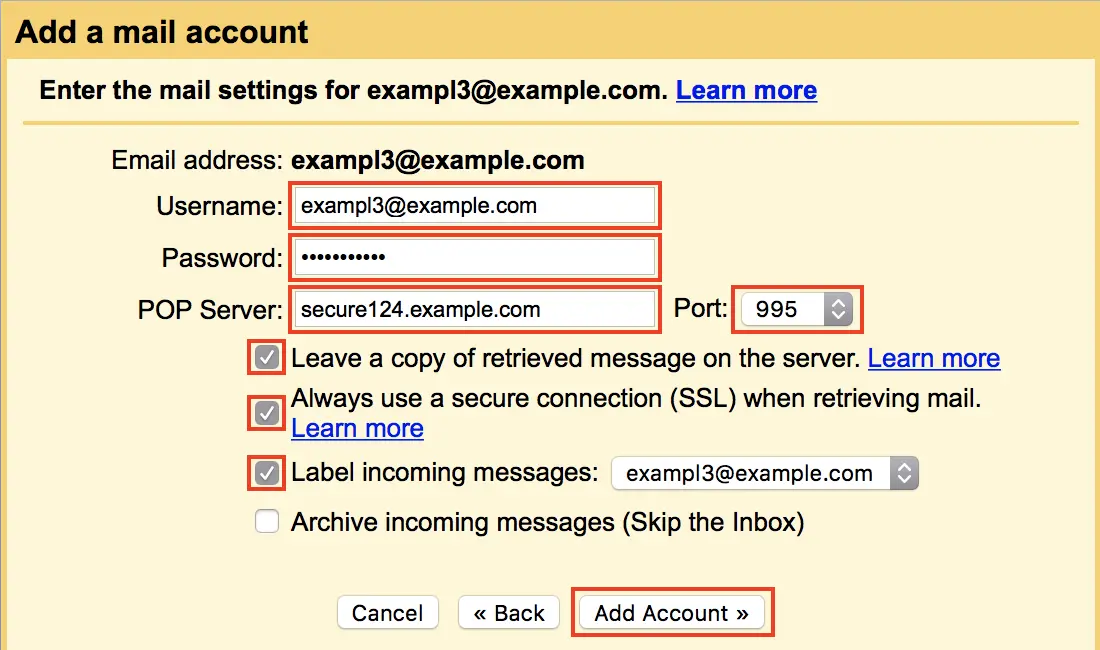
Enter the POP3 settings for your domain's email address. You can find these by going to Webmail, then clicking on your email address at the top right of the window and going to Configure Mail Client. Once the information has been entered, click Add Account.
You will see a message stating Your mail account has been added.

-
To continue to set up SMTP in Gmail, select Yes and click Next Step.
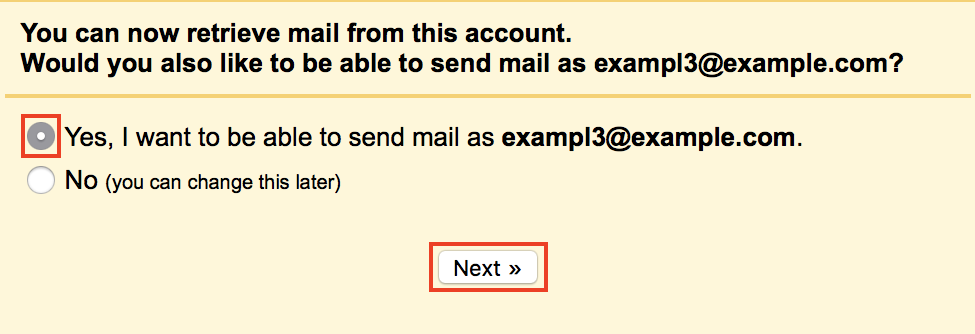
NOTE: If you do not want to send emails for your domain through Gmail, click the No radio button. You don't need to follow the next steps.
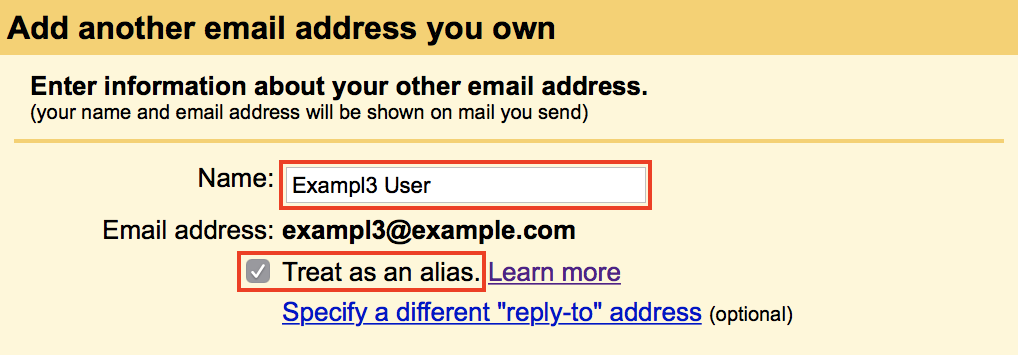
Enter your Name, as you would like it to appear when sending emails from this account. Also, ensure that the check box for Treat as an alias is checked.
Click the Next Step button to proceed.

On the Send mail through your SMTP server page, fill in your SMTP Server (typically “mail.yourdomain.yourextension“), Username (full email address), and Email Password.
Then, click the Add Account button.
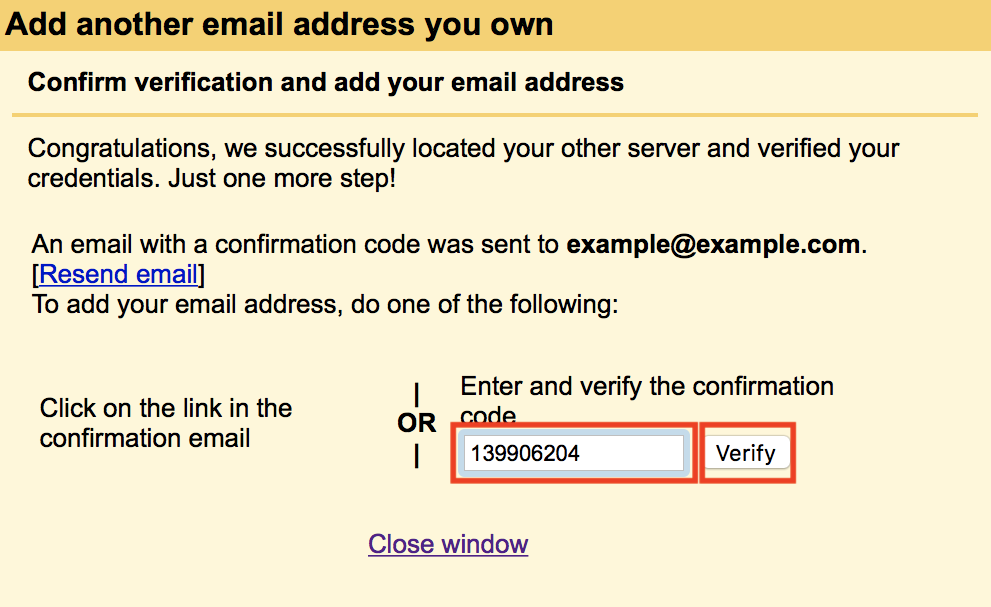
Now, Gmail will email a verification code to the email address you just added. You can either click the link in the email or copy/paste the code into the text box and click Verify.
Now you will see your domain's email address in the Send mail as and the Check mail from other accounts sections.
Congratulations! Now, you know how to Setup Gmail for POP3 and SMTP.

